 At the end of 2018, I asked some of my followers on social media if there are certain subjects they’d like to see more of. Video content is always one of the suggestions and I swear I’m going to get into it (pinky promise). There were many suggestions but the next highest requested subject was business-related content and more how-to’s. I have to admit I was a little shocked by this. Of course I second guessed myself:
What business tips do I have?
How to…what?
What am I going to teach folks?
Then, I got out of my head and starting to actually think. I’ve been blogging since 2010 and I’ve certainly learned a lot about the industry and photography. On top of that, I co-founded a nonprofit five years ago and I certainly have things to share on that subject. So here we are with my first [new] reader suggested content. Today I’m sharing a few food photography tips that have been helpful for me. If you’re like me (not a photographer), I think these tips will be helpful especially if you’re new to the game.
Food photography tips (if you’re not a photographer)
I am not a professional photographer so my journey with taking decent food photos has been a learn as you go type journey, which brings me to my first tip:
JUST PLAY AROUND
Listen, I never knew what type of photos I liked (or didn’t like) until I snapped the photo. That goes for editing software too. Maybe you like a bunch of moody dark type photos or maybe your style is more light, white and bright. Either way, you’ll never know until you try it out. I used to try and emulate what I saw other food bloggers/photographers do and it never worked. Test out a few different looks and see what you like.
Below is a phase I was going through where I was using darker type filters to edit my photos. It works for some but it’s definitely not my current photography style.
DON’T BE SCARED OF YOUR SMARTPHONE
Listen, I have a DSLR and I love it. I use it for 95% of my blog’s photos BUT my iPhone 8 Plus also takes great photos. When I upgraded my phone a while ago, I made sure to get the iPhone that has portrait mode for the times I was feeling fancy. I’m fully aware that iPhones aren’t the only phones out there with a great camera but it’s the one I use. If you don’t have a fancy camera or can’t afford one, pull out your smartphone. Most updated phones can take photos that are good enough to upload on a website.
USE NATURAL LIGHT
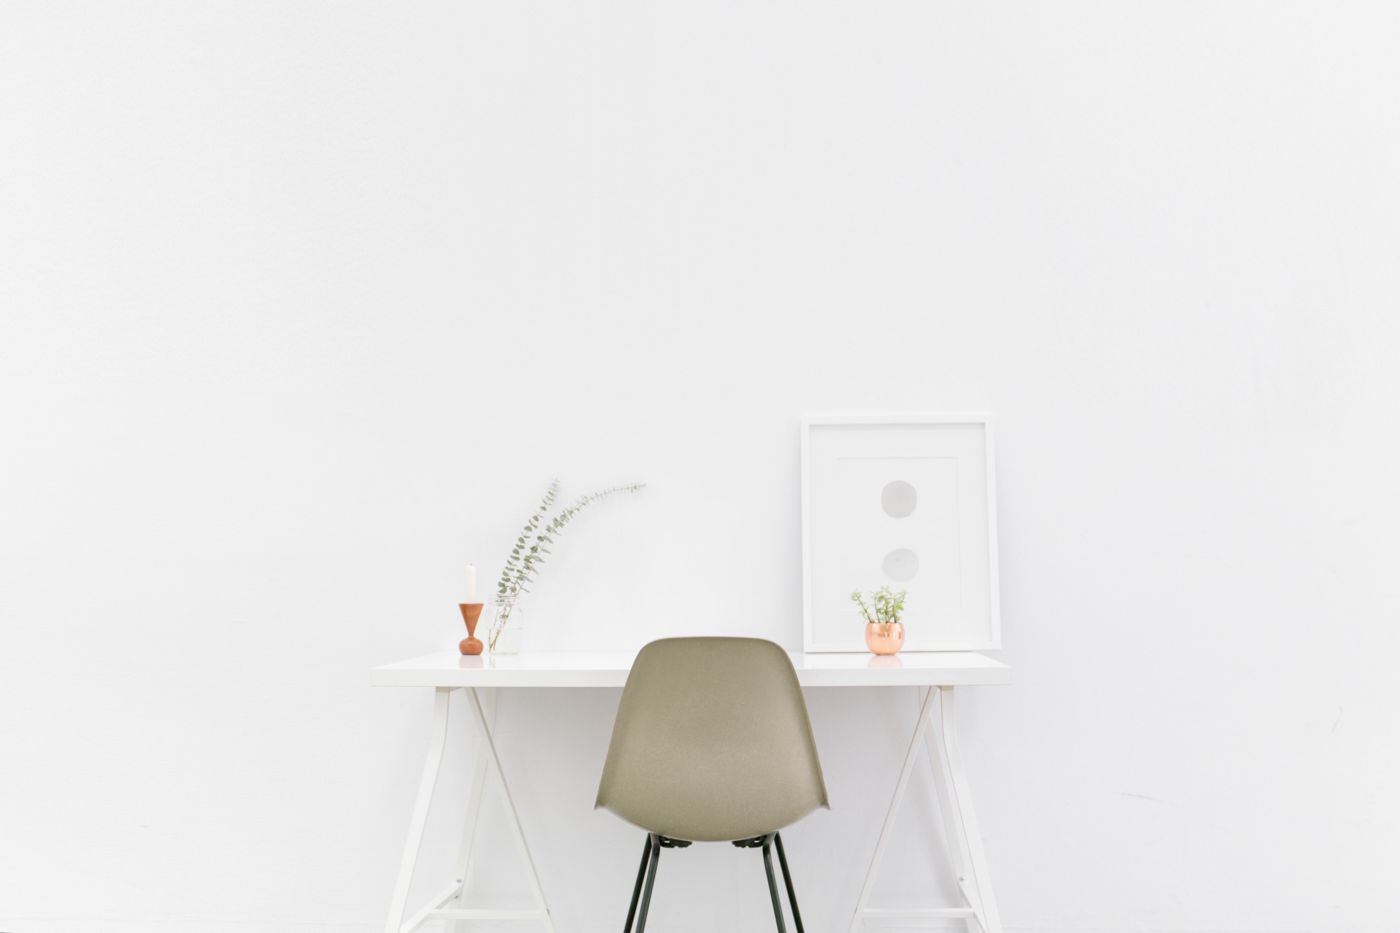
I can’t say this enough. For me, it’s photography 101. Yes, there are ways you can take fabulous photos without using natural light but I prefer the ‘natural way’. For this reason, I love when Daylight Saving Time happens and there’s extra light outside. I no longer have to rush home to try to photograph something. If there’s a room in your home that gets amazing natural light, take your photos in there. Full disclosure: most of my food photos are not taken in my kitchen. Our kitchen does not get good light AND the countertops are terrible. Almost 100% of my food photos are taken by a window in our living room.
PROPS
So there are two things I mean when I say props. The first is the props you can use to help your photos stand out more. For instance, I use a mixture of poster boards, photo backdrops and floor tiles (yes, floor tiles) for my photos. These are items that provide your photo with a basic need: a backdrop. Get creative! If you prefer color in your photos, go to Michael’s (or another craft store) and load up on colored poster board. One of my favorite things to do is to go to Home Depot and shop for floor tiles to use as photo backgrounds.
My second point with props is what you’ll use to enhance your photos. The serving utensils, tea towels, glassware, etc. I love shopping for props (note: you can usually find some great stuff in your local GoodWill). Sometimes, you’ll have a photo that doesn’t need accessorizing – and that’s great. But when you shoot a photo and food on the plate isn’t enough, this is where your props will come into play. This is another one of those situations where simply playing around with different props will allow you to learn what you prefer as a food photographer.

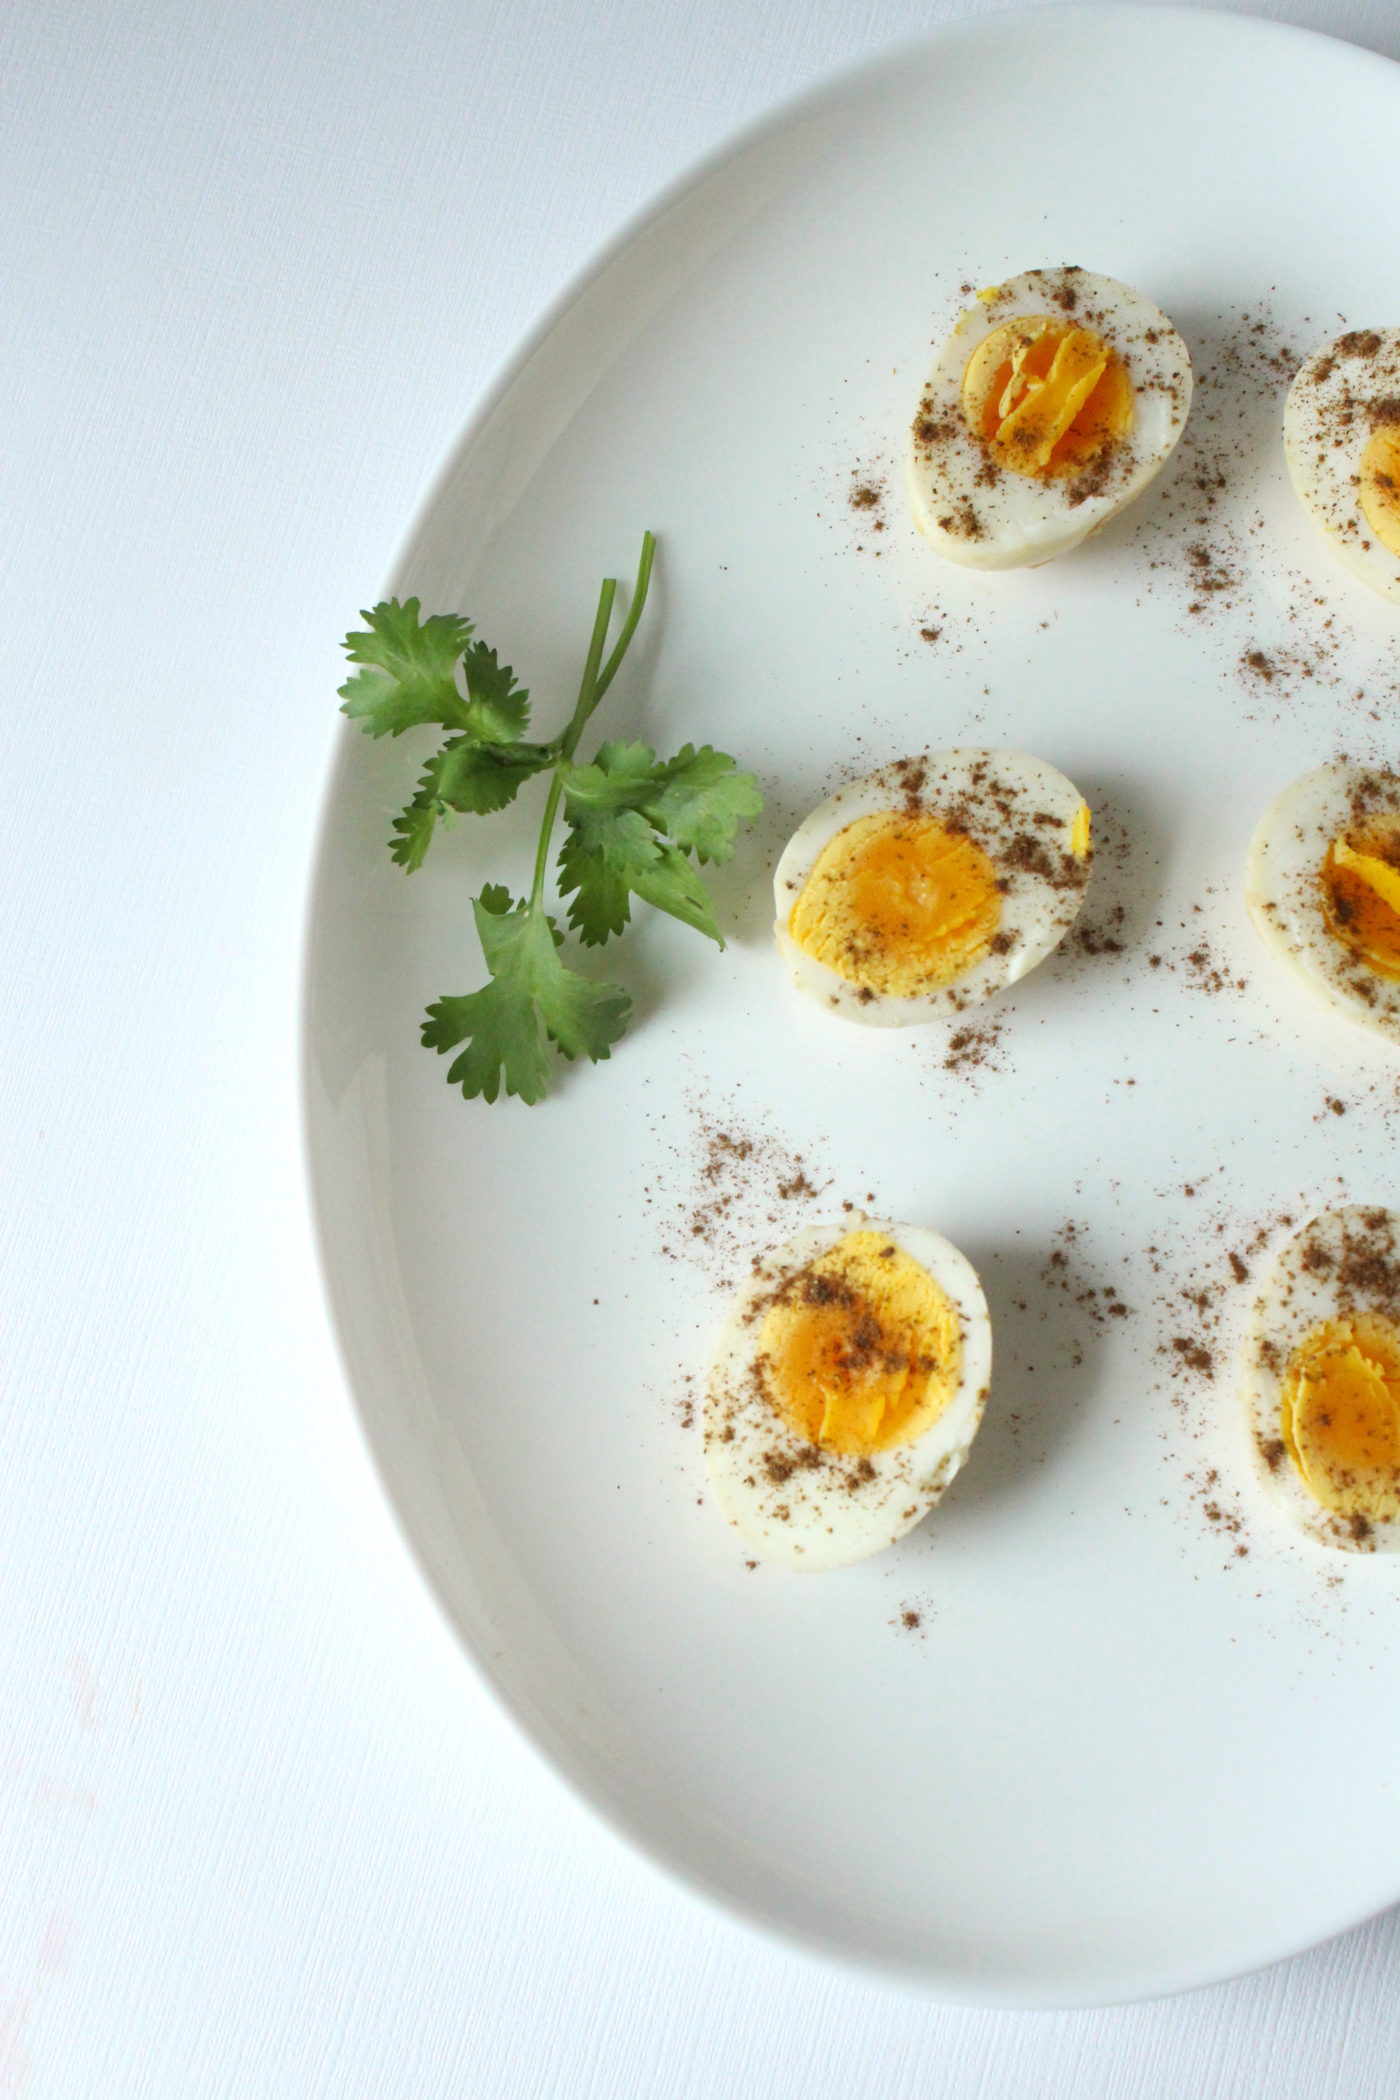
PLAY WITH YOUR FOOD
Sometimes it adds texture and depth to a photo when the food is doing more than just sadly sitting on a plate. Don’t be afraid to take your food out of the bowl or plate. Your food can look much more appetizing or believable when your food is in its natural habitat.
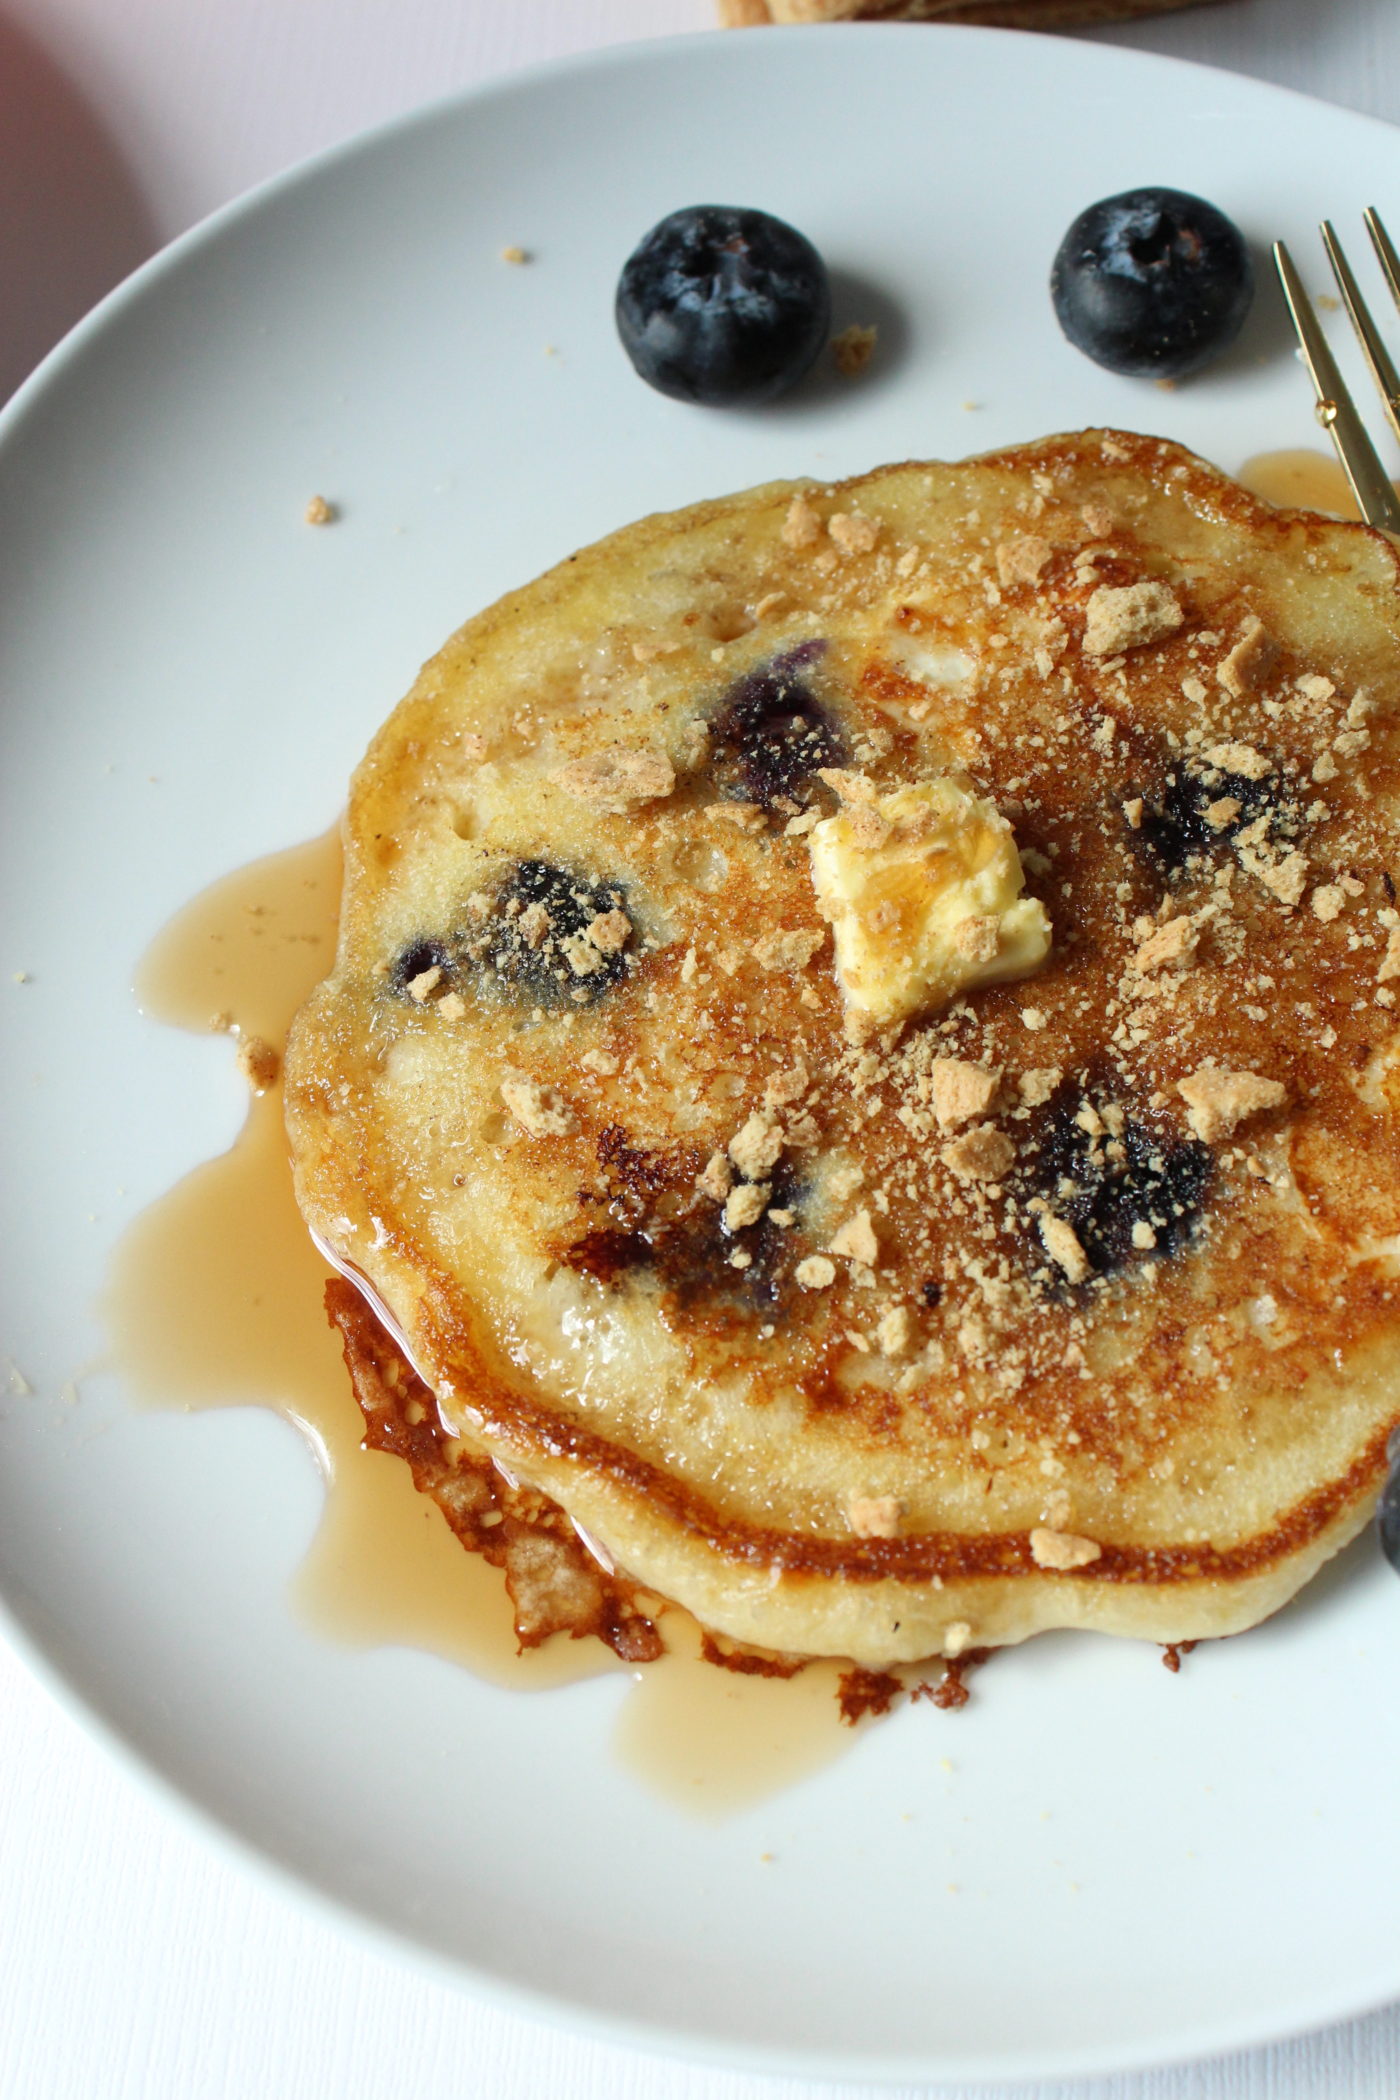
GET CREATIVE/MANIPULATE YOUR FOOD A LITTLE
Here’s what I mean by that: sometimes you cook some awesomely delicious dish and you’re so excited to photograph it then you realize you’re missing an important food prop or something. It’s OK – be creative. Once I wanted whipped cream to accompany a photo but I didn’t have any. But I did have sour cream, though. So I used sour cream in my photo and no one knew any different. Once in a while your food may look dry or sad (it happens). Brush some olive oil on it and make it shiny again. Do you get what I’m saying?
What are some of your food photography tips?